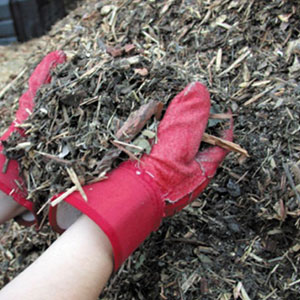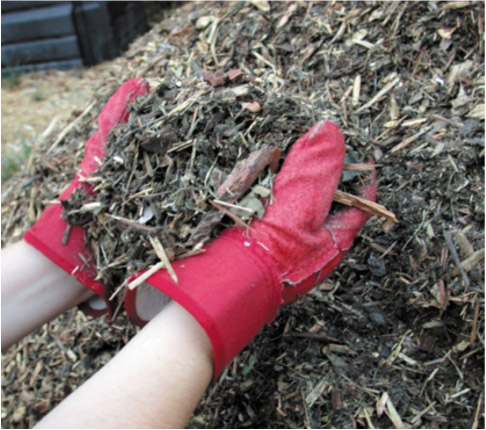
Leaves and branches chopped into mulch. Image credit: Wikimedia Commons
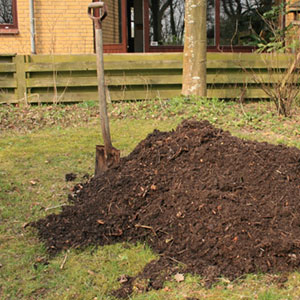
Use Mulch
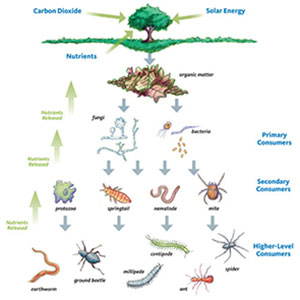
When you mulch your landscape, you are imitating one of nature’s fundamental processes. Many plant communities naturally generate healthy layers of organic litter. Deciduous forests are one of nature’s champion mulchers, shedding leaves in autumn that are transformed by the soil’s natural food web into plant food and the rich organic matter called humus that is the key to healthy soil. This blanket of organic matter protects plants from extremes of temperature, limits soil erosion, and conserves soil moisture that would otherwise evaporate.
Mulching provides a garden with these same benefits and more:
- Conserves water by shading the soil and reducing evaporation
- Insulates roots by moderating soil temperatures
- Cushions the impact of downpours and helps prevent soil compaction, allowing water to penetrate and plant roots to breathe
- Decomposes and adds nutrients and organic matter to the soil, improving water retention and nurturing the soil fauna that promote fertility
- Makes plants less vulnerable to pests and diseases
- Suppresses weeds and keeps the soil loose, reducing the need for regular cultivation
Inorganic mulches, such as crushed stone and recycled rubber chips, are appropriate for rock gardens, driveways and paths. In most cases, however, organic mulches are preferable for planting beds because they eventually break down and enrich the soil.
Bagged mulches are commercially available, but you can save money and reduce your carbon footprint by mulching fallen leaves and other organic materials from your property, thus recycling and keeping them out of a landfill.
How to Apply Mulch
- Most mulches should be about 3 inches deep for best results. The optimum depth also depends on the soil type. Sandy soil, which loses moisture rapidly, benefits from a thicker mulch than clay soil, which retains water.
- Before applying mulch, pull any existing weeds or smother them with a layer of newspaper, then water well.
- To avoid diseases, pull the mulch back an inch or two from the base of plants.
- The best time to spread mulch around heat-loving vegetables like peppers and tomatoes is after the soil has warmed, usually mid or late spring. Cabbages, greens and other cool-weather crops can be mulched earlier. Mulches around shrubs and perennials will offer the best protection against winter cold if laid down in early winter, when the soil has cooled but not frozen hard. Recycled holiday trees and trimmings are great for this purpose. Mulch can be applied anytime in herbaceous perennial beds and around trees and shrubs.
- Don’t mulch seedlings planted in very moist soils because excessive wetness is an invitation for damping-off, an often fatal fungal disease. Once seedlings are established, it’s safe to mulch.
- Because organic mulches eventually break down and become part of the soil, they need to be renewed every two or three years, depending on the climate and the type of mulch.

Pecan shells — a local byproduct from the pecan nut industry — are a pretty, sustainable mulch option for Texans. Image credit: Wildflower Center

Fallen leaves can be repurposed as mulch. Image credit: Wikimedia Commons
Some Recommended Organic Mulches
- Leaves – Leaves make a great mulch, and they’re also free. Apply a layer 2 to 3 inches thick. Partially shredded leaves are less likely to mat and shed water than whole leaves, homeowners can run leaves through a shredder or pass the lawn mower over them a few times to produce a better mulch. Composting leaves like oak leaves, which have a lot of cellulose and break down slowly, with grass clippings for a week or two will improve them as mulch.
- Bark – Bark mulches should be applied 3 to 4 inches deep. Because they’re a recycled byproduct of the lumber industry, they’re preferable to wood chips, which may be made from trees felled solely for the manufacture of mulch. Look for products expressly labeled “bark mulch,” not just wood or hardwood mulch.
- Wood chips – When obtained from local arborists who create them from their daily prunings, wood chips are a good choice and may even be available for free. Proper application depth is 3 to 4 inches. Since there is some evidence that freshly chipped wood can rob nitrogen from soil, you should compost them first or let them “season” in a pile for a few weeks, especially if the wood chips will be used in a vegetable garden.
- Pine needles – Pine needles are light and fluffy and don’t get compacted, so water penetrates easily. Apply a layer 4 to 6 inches thick. Because they tend to lower soil pH, they’re best used around acid-loving plants.
- Nutshells – If nutshells are an agricultural byproduct in the area, they are a good choice. Apply them about 2 inches deep. Shells have an attractive formal look, but beware of cocoa hulls, a byproduct of chocolate processing, which contain compounds toxic to dogs.
- Straw – Applied 6 to 8 inches deep, straw is effective, but be sure you get straw and not hay, which can be full of weed seeds. Straw isn’t very attractive in perennial planting beds but looks appropriate in a vegetable garden.
- Compost – Top-dressing planting beds annually with an inch of compost will provide most plants with a balanced source of nutrients.
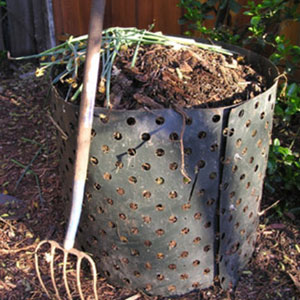
Plant “Green Manure” Cover Crops
Growing “green manures” — grains and legumes used as cover crops — is a good way to increase the amount of organic matter and nutrients in soil. Cover crops reduce the need for fertilizer, help aerate the soil, increase its capacity to conserve moisture, and protect it from compaction and erosion during storms. They also help suppress weeds. Grains such as wheat and oats are especially good at increasing soil’s organic matter. Leguminous cover crops, like alfalfa, clovers or cow peas, contain nitrogen-fixing bacteria in their root nodules that remove nitrogen from the atmosphere and make it available in soil.
Growing tips:
- Use cover crops over bare vegetable beds in winter.
- For multiple benefits, grow grains and legumes together.
- To get them off to a good start, plant winter cover crops at least four weeks before the expected first hard frost date in your area
- Plant cover crops with large seeds, like peas, in shallow, closely spaced furrows; broadcast those with small seeds, then rake lightly to cover.
- If the weather is dry, water to keep the soil lightly moist until the young cover crop is established
- Till cover crops into the soil in spring, just before flowering, or about 3 weeks before planting to give the organic matter time to start breaking down.
- Avoid cover crops that are invasive in your region.
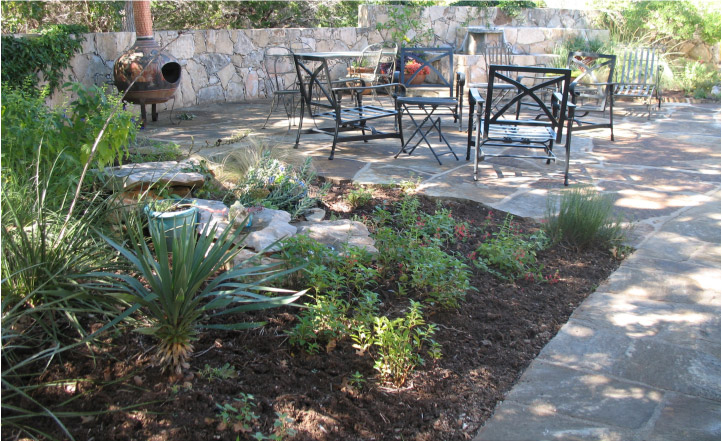
Well-employed mulch at Yates Ranch in Austin, Texas. Image credit: Wildflower Center
GET STARTED WITH SOILS